
Introduction
In the quest for a cleaner and more organized home, a simple yet often overlooked tool can make a significant difference – the humble broom holder. If you’ve ever struggled with brooms cluttering your closet or leaning haphazardly in a corner, you’re not alone. Broom holders are the perfect solution to keep your cleaning tools neat, accessible, and free from damage. In this comprehensive guide, we’ll delve into everything you need to know about broom holders, from their benefits to choosing the right one for your space.
Table of Contents

Chapter 1: Benefits
1.1. Space Optimization
One of the primary advantages of using broom holders is their ability to optimize space. They help you maximize storage areas like closets, garages, and utility rooms by keeping brooms, mops, and other long-handled cleaning tools neatly organized and off the floor.
1.2. Damage Prevention
Leaving brooms and mops leaning against walls can lead to bent bristles and damaged handles. Holders protect your cleaning tools from wear and tear, extending their lifespan and saving you money in the long run.
1.3. Safety
Properly storing brooms and mops prevents tripping hazards. Broom holders securely hold the tools in place, ensuring they won’t fall over and cause accidents, especially in households with children and pets.
1.4. Easy Access
No more fumbling around in dark closets or digging through cluttered corners to find the broom. Broom holders provide easy and quick access to your cleaning tools, making household chores more efficient.

Chapter 2: Types of Broom Holders
2.1. Wall-Mounted
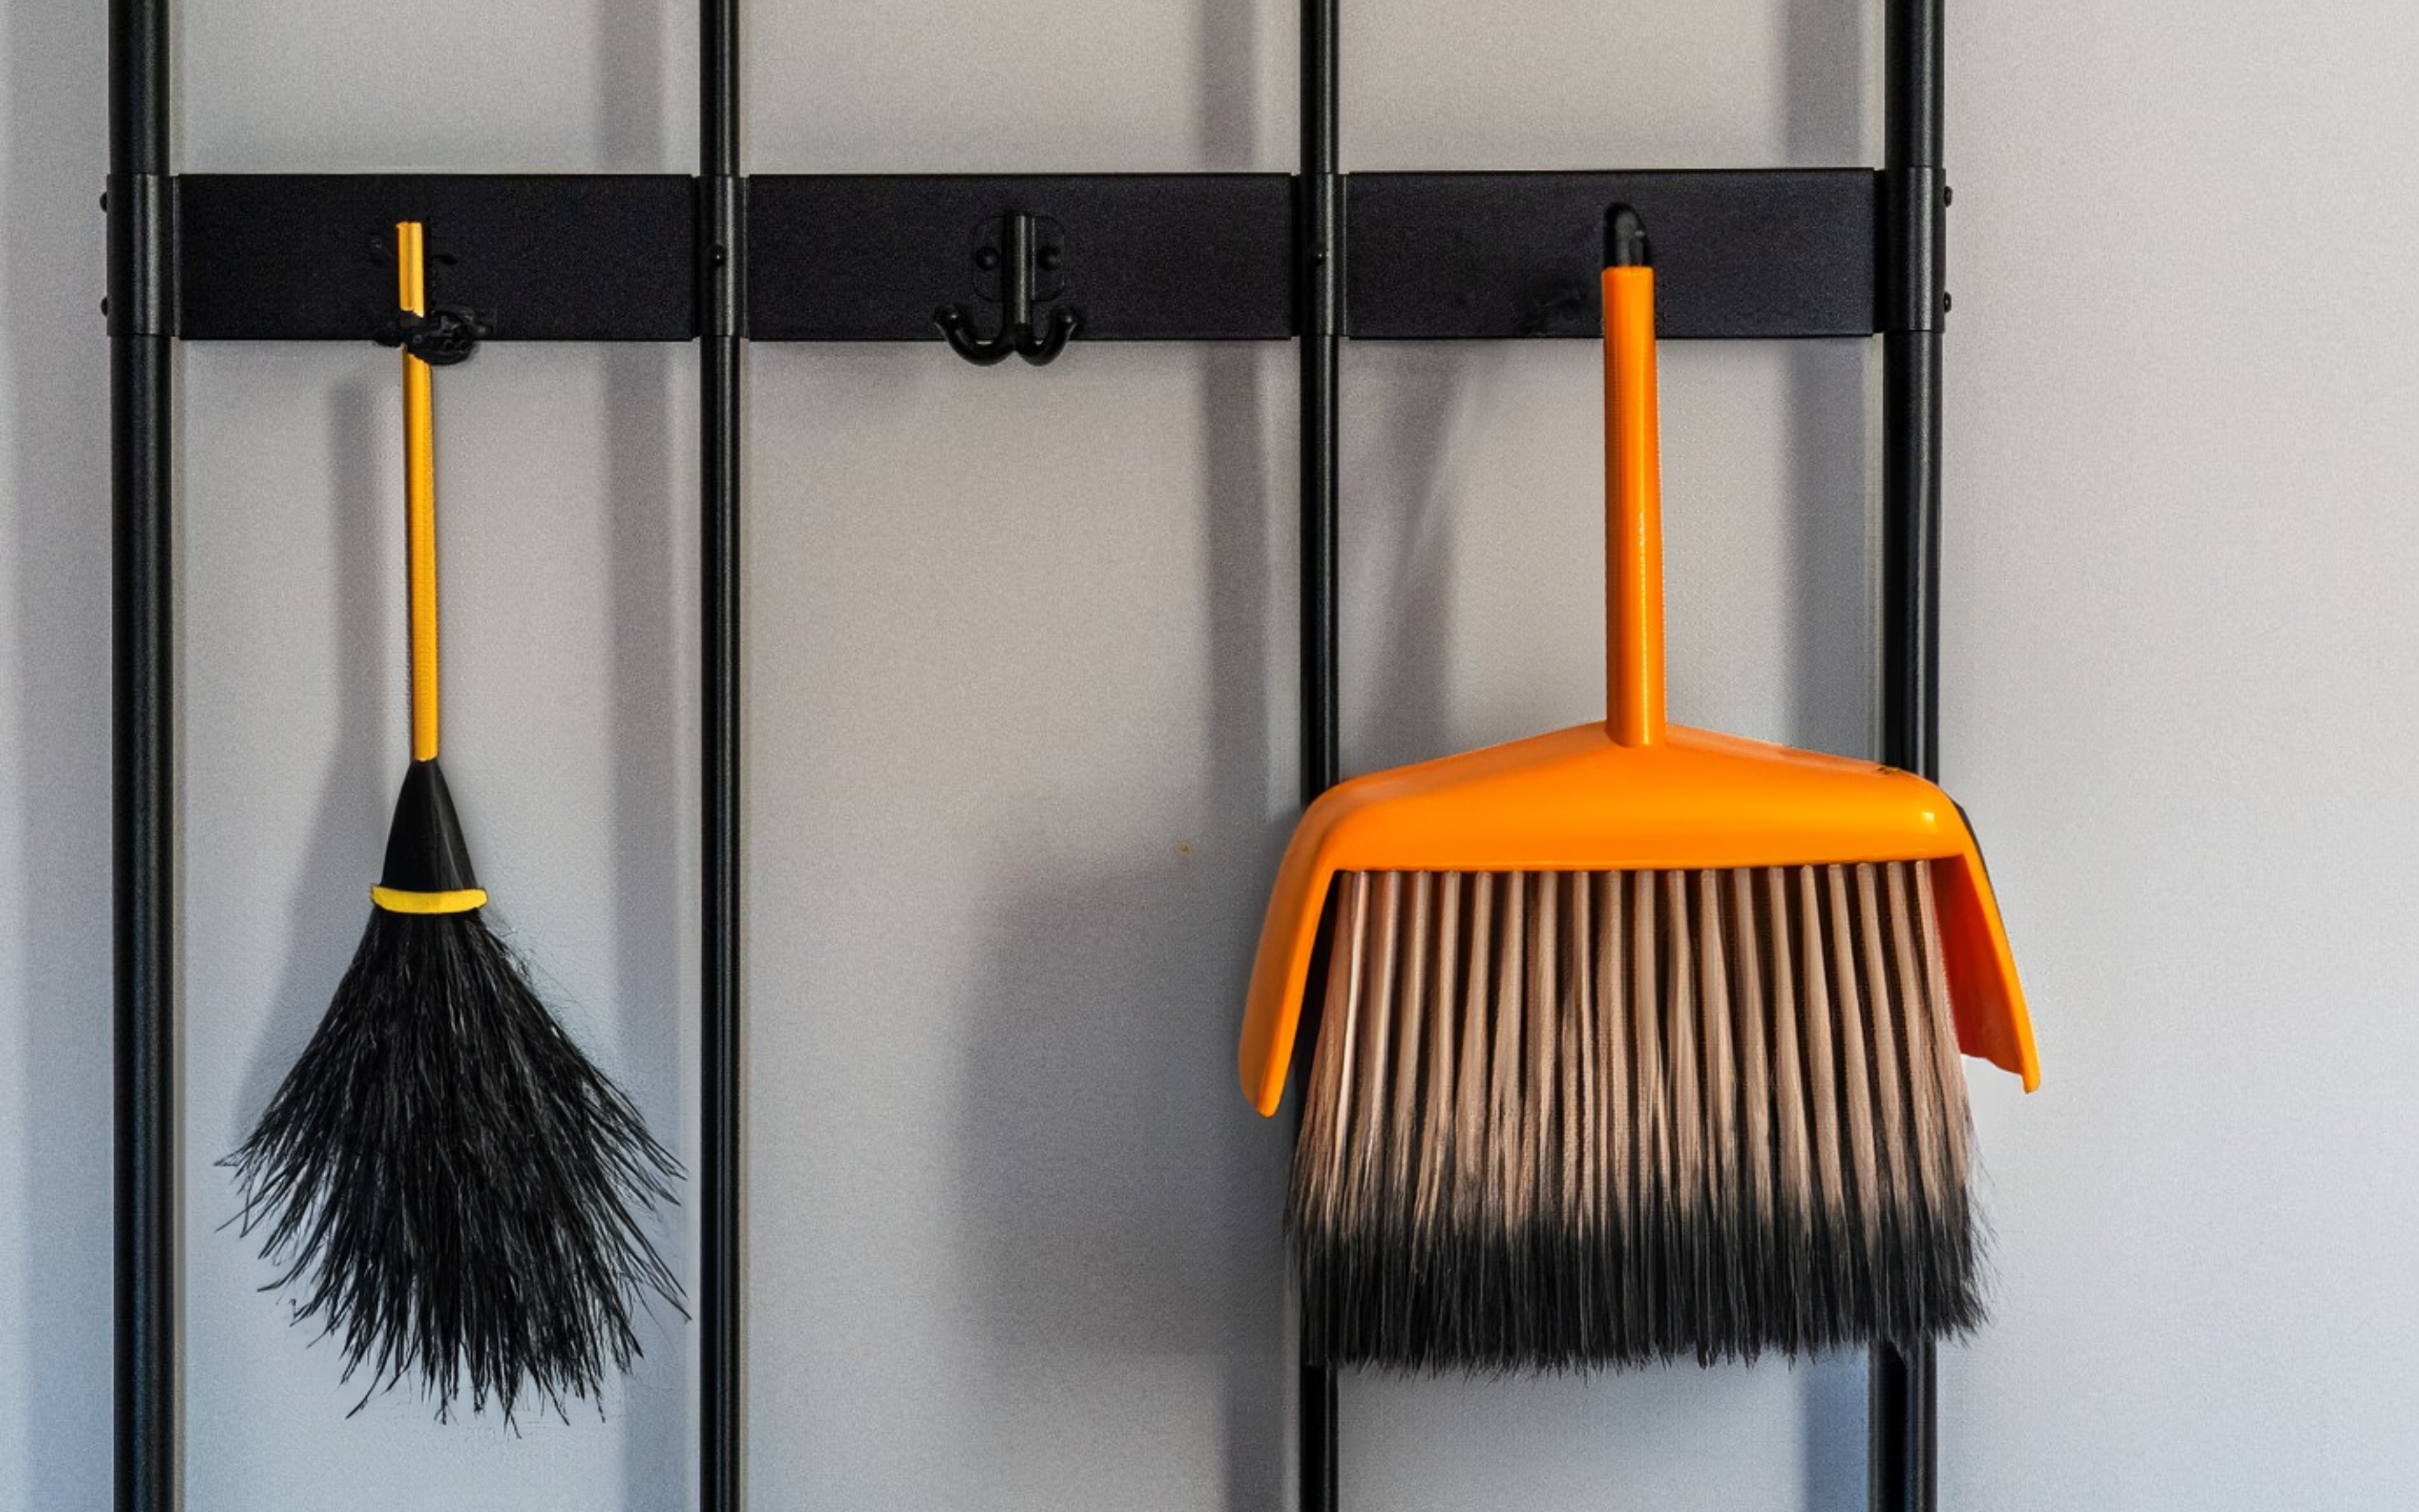
Wall-mounted broom holders are the most common type. They come in various designs, from simple hooks to multi-purpose racks. These holders are attached to the wall, allowing you to hang your brooms and mops neatly and out of the way.
2.2. Over-the-Door
Over-the-door broom holders are perfect for those who want to avoid drilling holes in the wall. They fit over the top of a door and provide hooks for hanging cleaning tools. This type is versatile and suitable for small spaces.
2.3. Closet or Cabinet
Closet or cabinet broom holders are designed to fit inside existing storage spaces. They often feature adjustable hooks or slots, making them customizable to your specific needs.
2.4. Magnetic
Magnetic broom holders use strong magnets to hold metal cleaning tools securely in place. They are a great option for those who want a sleek and minimalist look in their storage area.
Chapter 3: Choosing the Right Holder
3.1. Number of Tools
Consider how many cleaning tools you need to store. Some holders come with just a few hooks, while others have multiple slots and hooks to accommodate a variety of items. Choose one that suits your needs.
3.2. Installation
Check if you are comfortable with the installation process. Wall-mounted broom holders require drilling, while over-the-door and magnetic holders are usually easier to set up.
3.3. Material and Durability
Look for broom holders made from durable materials like stainless steel, ABS plastic, or aluminum. Ensure they can withstand the weight of your cleaning tools without bending or breaking.
3.4. Space Constraints
Consider the available space in your storage area. If you have limited room, opt for a compact or over-the-door broom holder.
3.5. Aesthetics
Choose a holder that complements your space’s aesthetics. Some are designed to be discreet, while others are decorative and can add a touch of style to your storage area.
Chapter 4: DIY Broom Holder Ideas
While there are plenty of commercial broom holder options available, you may want to explore some creative do-it-yourself (DIY) solutions. Here are a few inventive DIY broom holder ideas to consider:
7.1. Repurposed Pallet Broom Holder
If you enjoy upcycling and repurposing materials, consider using an old wooden pallet to create a rustic broom holder. Simply sand and paint the pallet to your desired color, attach hooks or clips, and mount it on the wall. It’s an eco-friendly and visually appealing storage solution.
7.2. PVC Pipe Broom Holder
PVC pipes can be transformed into a custom holder. Cut PVC pipes into sections, angle them slightly upward, and mount them to a piece of plywood or a wall. Slide your broom and mop handles into the pipes for secure storage.
7.3. Garden Tool Organizer
Repurpose a garden tool organizer for your brooms and mops. These organizers often feature multiple pockets and hooks that can accommodate a variety of cleaning tools. Hang it on the back of a closet door or in the utility room for easy access.
7.4. Magnetic Strip Holder
For a sleek and minimalist look, consider installing a magnetic strip on the wall. Attach magnets to the handles of your metal cleaning tools, and they will stick securely to the strip. This method works well for smaller spaces or those with a modern aesthetic.
7.5. Tension Rod Holder
Tension rods aren’t just for curtains. Place a tension rod inside a closet or cabinet, and hang your brooms and mops from it using clips or hooks. This DIY solution is adjustable and keeps your cleaning tools neatly tucked away.
7.6. Pegboard Organizer
A pegboard can be a versatile DIY broom holder. Attach a pegboard to the wall, and then insert pegs or hooks into the holes. Hang your cleaning tools by their handles, and use additional pegs for other accessories like brushes, dustpans, or gloves.
7.7. Recycled Materials Holder
Get creative with recycled materials such as old rake heads, wooden planks, or metal brackets. Attach these items to a wall, and use them as unique broom and mop holders. Not only will you save money, but you’ll also add a touch of personality to your storage area.
7.8. Binder Clip Organizer
Binder clips can be an inexpensive and effective solution for small cleaning tools like dusters and brushes. Attach binder clips to a wooden board or the inside of a cabinet door, and clip your tools in place.
When it comes to DIY broom holder ideas, the possibilities are nearly endless. Choose the one that best suits your space, style, and storage needs. DIY projects not only add a personal touch to your home but also allow you to customize your broom holder exactly as you desire.
Chapter 5: Installation and Maintenance
4.1. Installation Tips
Follow the manufacturer’s instructions carefully when installing your broom holder. Use appropriate tools and anchors if required. Make sure it is firmly fastened to avoid mishaps.
4.2. Maintenance
Regularly check the broom holder for any signs of wear or damage. Clean it as needed to prevent dust and grime buildup, which can affect its functionality.
Chapter 6: Top Broom Holders Brands
Several reputable brands offer high-quality holders. Some of the top options include Rubbermaid, Berry Ave, and Command.

Chapter 7: Pro Tips
- Weight Distribution: When installing a wall-mounted broom holder, distribute the weight evenly by placing heavier items closer to the wall. This prevents the holder from sagging or coming loose over time.
- Label or Color-Code: To make it even easier to find the right tool quickly, consider labeling or color-coding your holder slots or hooks. This is especially helpful in households with multiple users.
- Regularly Inspect: Periodically inspect your broom holder for any loose screws, damaged hooks, or signs of wear. Address any issues promptly to maintain its functionality and safety.
- Use S-hooks: S-hooks can be a valuable addition to your broom holder. They allow you to hang items with smaller handles, such as dustpans, brushes, or dusters, without taking up extra slots.
- Adjustable Holders: opt for broom holders with adjustable hooks or slots. This flexibility allows you to accommodate different handle sizes and shapes, ensuring a secure fit for all your cleaning tools.
- Mop Holders with Grips: If you store mops on your broom holder, look for models with rubber or silicone grips. These help prevent mops from slipping and sliding off the holder.
- Regular Cleaning: Clean your broom holder periodically to prevent dust and debris buildup. Wipe it down with a moist cloth or a light cleaning agent. Clean tools before storing them to avoid transferring dirt to the holder.
- Childproofing: If you have children or pets in your home, install your broom holder at a height that is out of their reach. This ensures their safety and prevents them from playing with potentially dangerous cleaning tools.
- Utilize Extra Space: If your broom holder has additional slots or hooks that are not in use, consider using them to hang other items like umbrellas, bags, or even gardening tools.
- Regularly Reevaluate: As your cleaning tool collection evolves, regularly reevaluate your broom holder’s setup. Make adjustments to accommodate new tools or changes in your cleaning routine.
By following these pro tips, you can maximize the effectiveness and longevity of your holder while keeping your cleaning tools organized and accessible.
Chapter 8: Conclusion
In summary, holders are a small investment that can make a big difference in your home organization and cleaning routine. They save space, prevent damage to your cleaning tools, enhance safety, and provide easy access. By choosing the right broom holder to match your needs and space, you can enjoy a clutter-free and efficient home.


1 thought on “The Ultimate Guide to Broom Holders: Organization Made Easy”